This is an old revision of the document!
Table of Contents
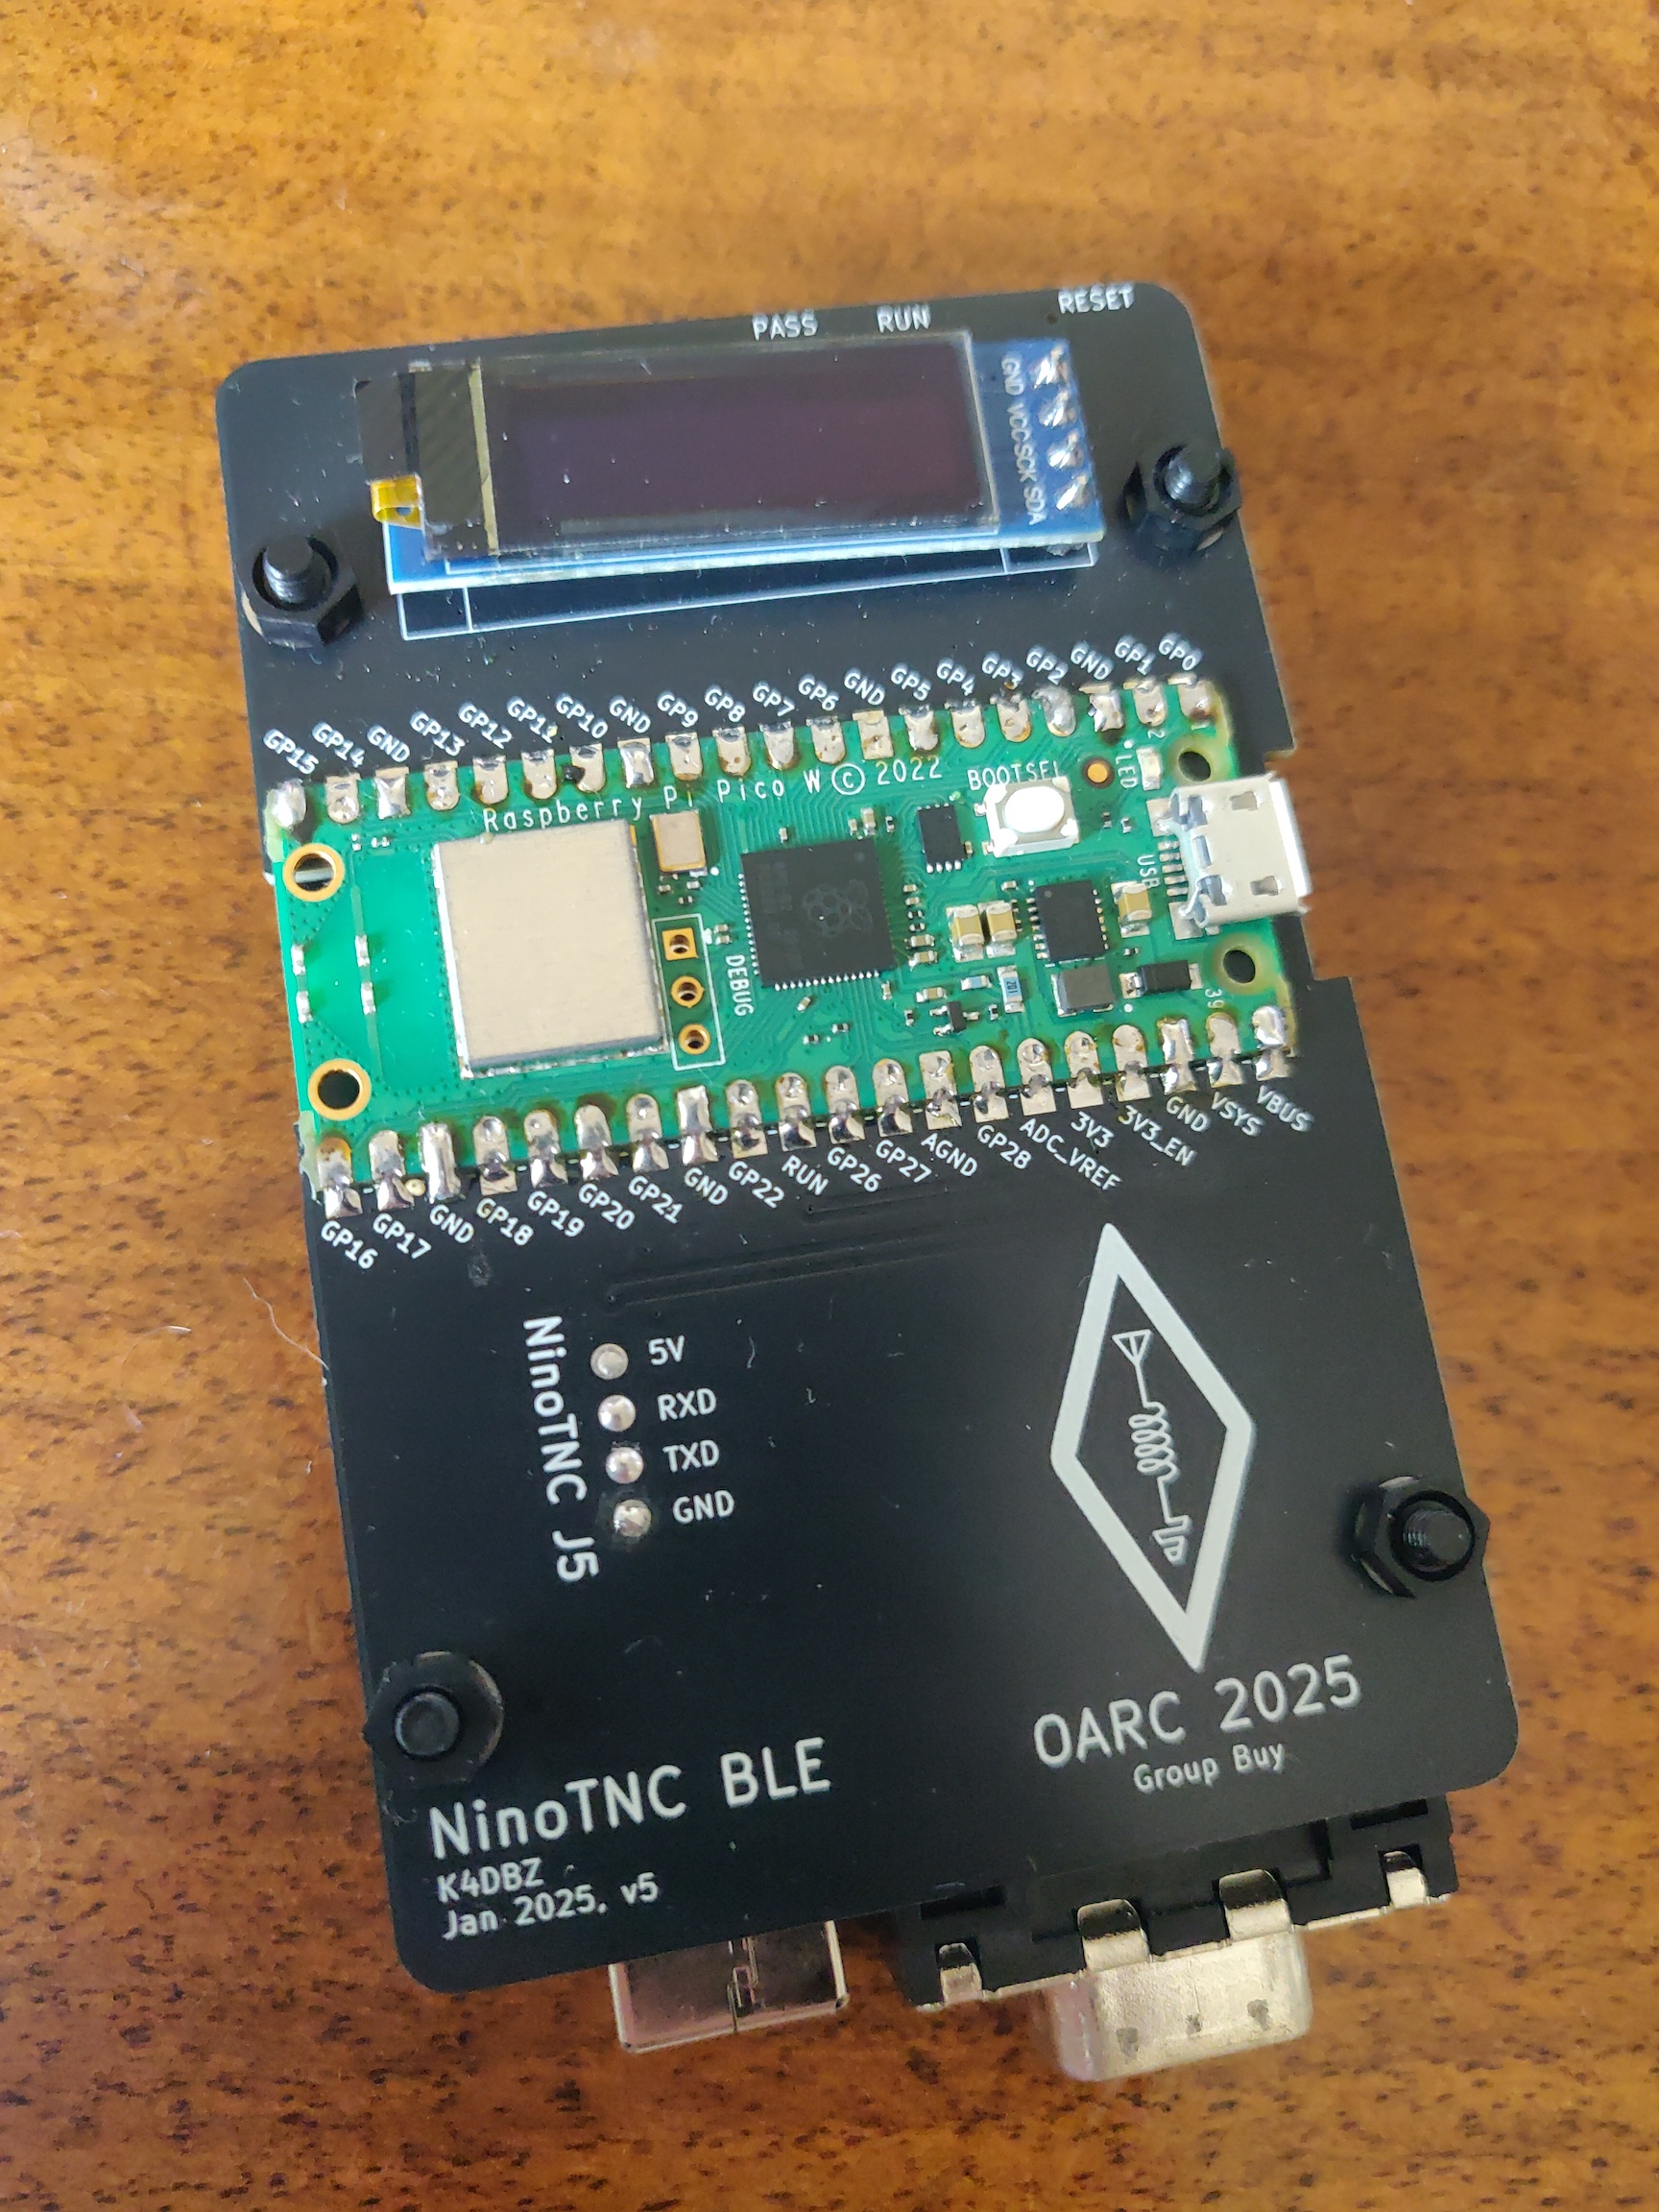
NinoTNC BLE
An OARC Group-buy and build was organised in April 2025 for the NinoTNC BLE board developed by David K4DBZ
Source is available from GitHub, PR's welcome
The latest compiled firmware for the onboard Pico is available here: {link to compiled firmware}
What is it?
The NinoTNC BLE board allows one to connect to a NinoTNC over Bluetooth and BLE, allowing for a user to use a TNC with a smartphone or tablet/laptop without the need to use a USB-B cable.
The firmware is currently targeted for the Raspberry Pico W but “should” work with the Pico 2W (currently being tested)
Applications that are known to communicate with it:
APRSDroid using the SPP profile WoAD Winlink on Android
Assembly
Assembly of the entire kit is possible using the most basic soldering iron with limited precision, but it is recommended for the SMD components that a hotplate is used for accuracy.
Assembly of the board is recommended to take place in the following order:
Underside components
- SMD 10kΩ Resistors and 100nf Capacitors (R1,R2 & C1,C2)
- MicroSD Card Slot
- Pogo Pins
- Run/Passthrough switch
- Reset Button
Top side components
- Raspberry Pico
- SSD1306 OLED screen
Tips
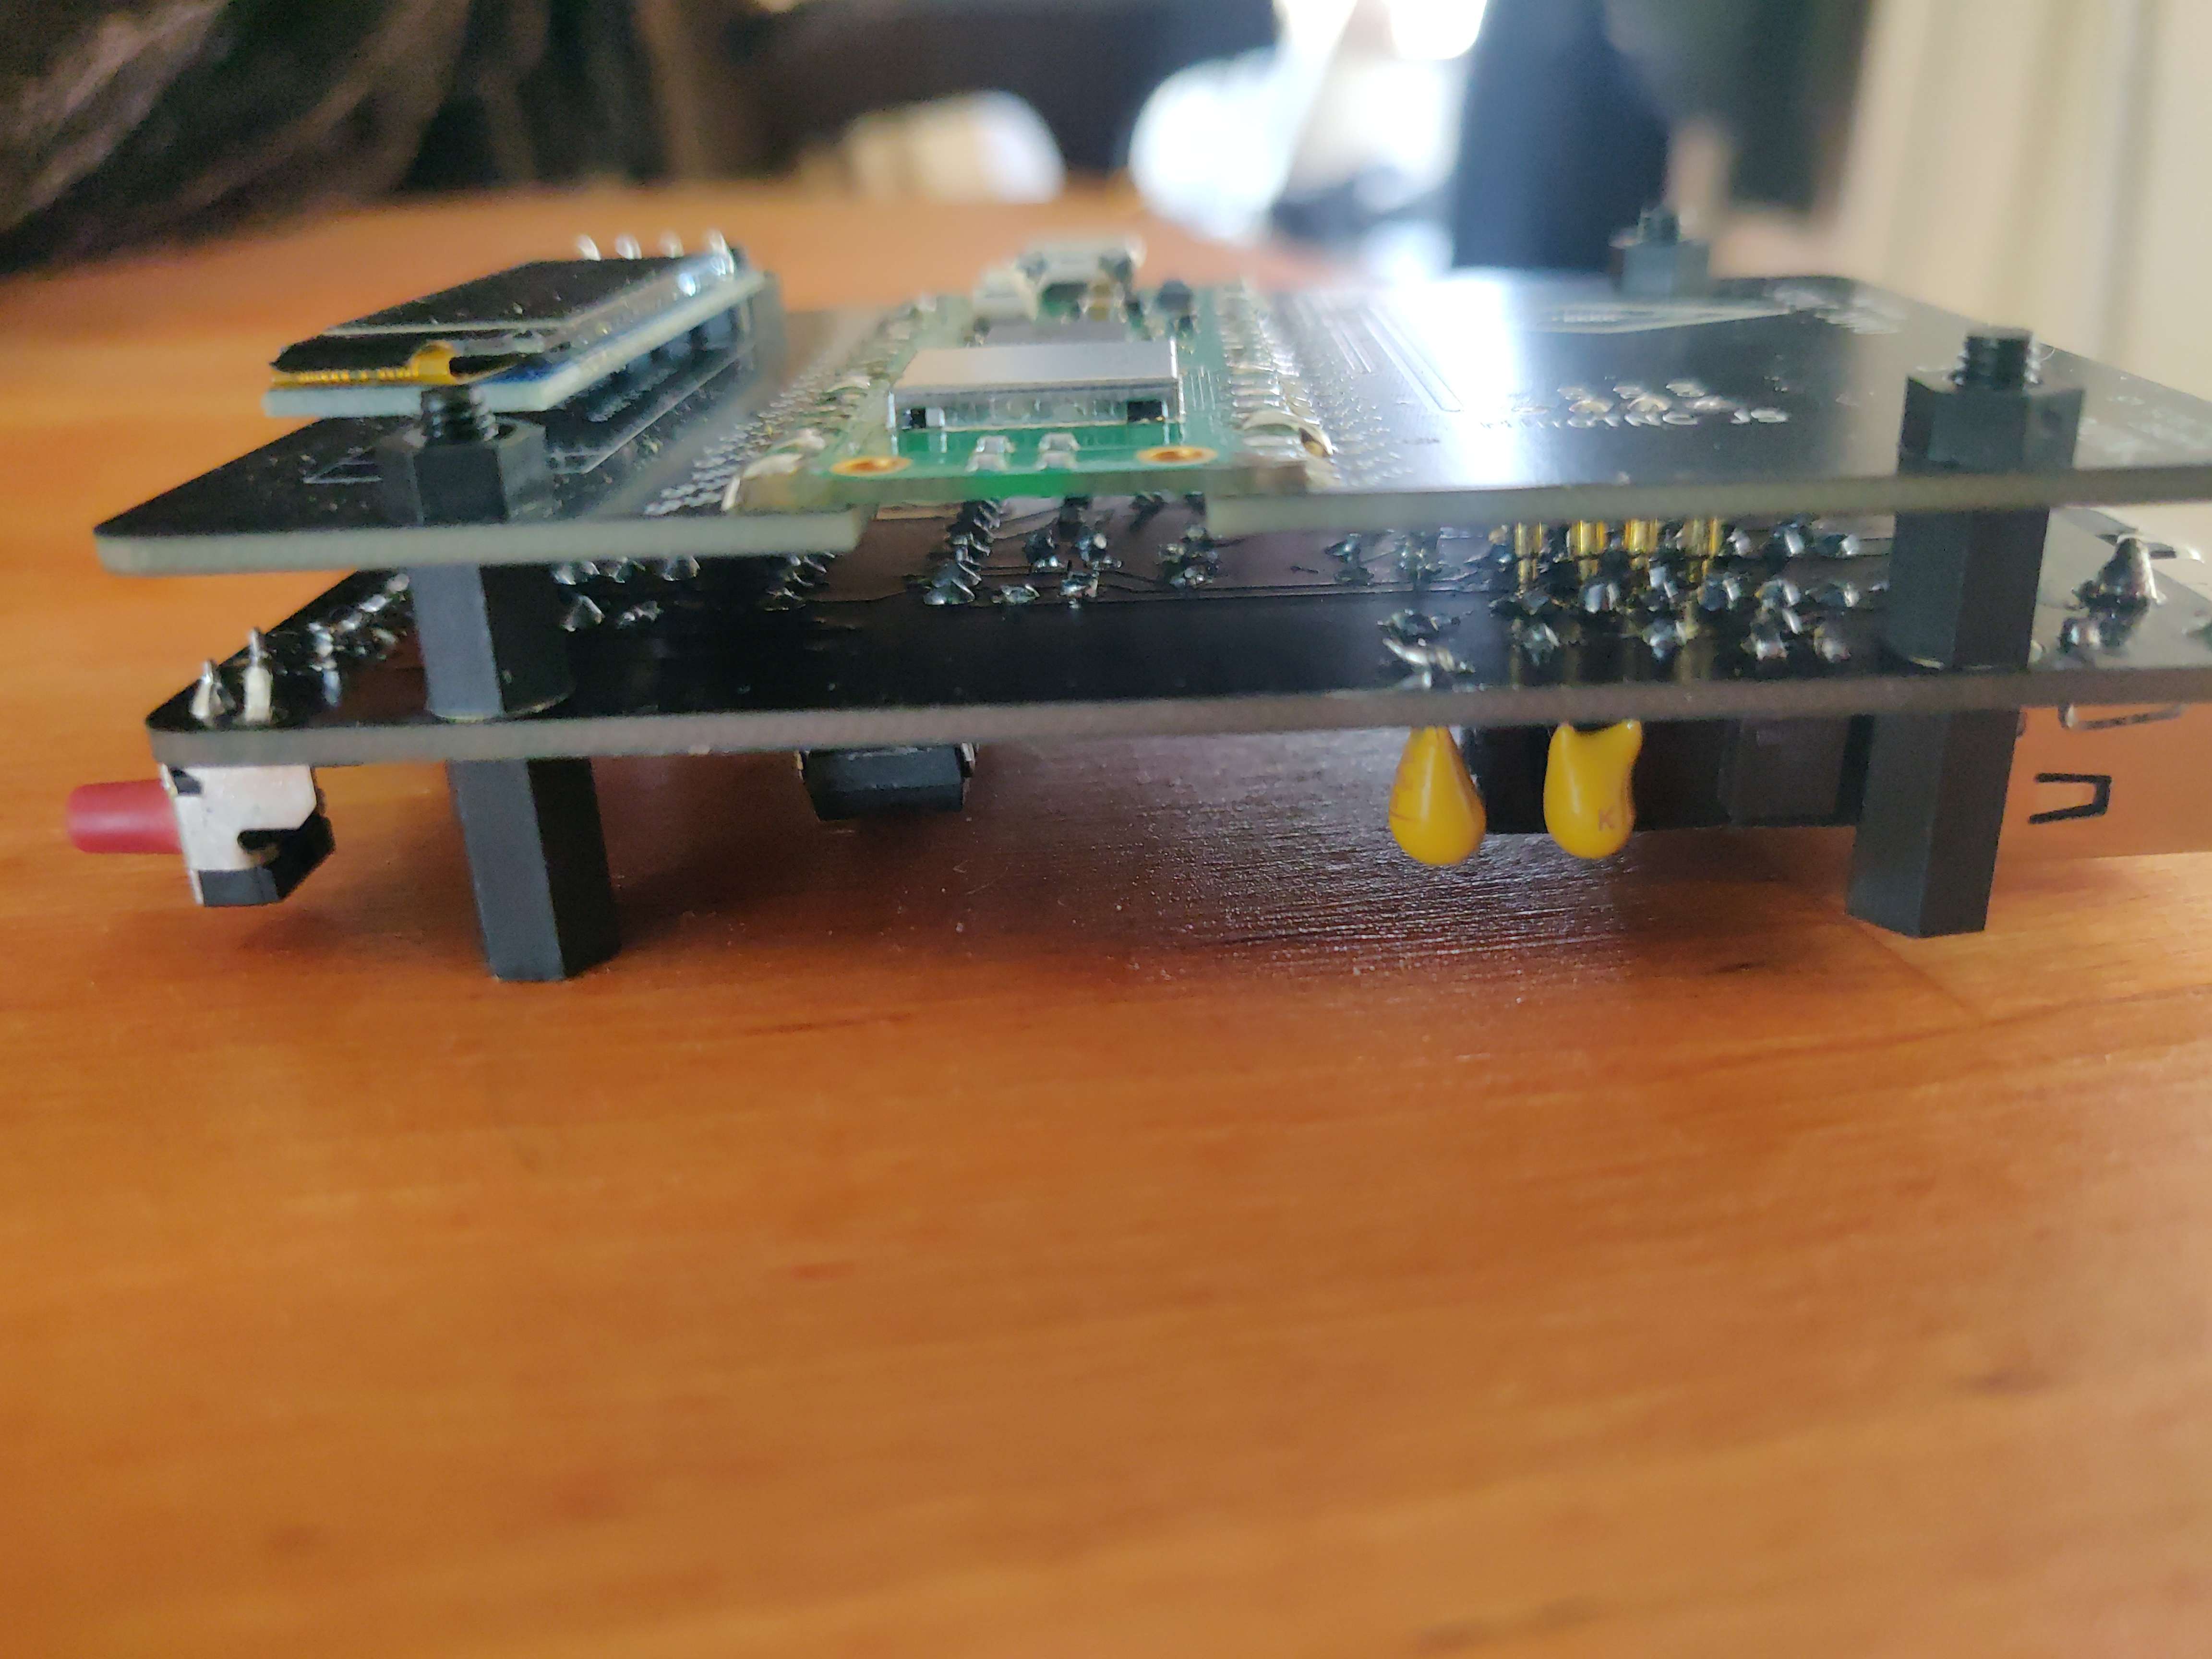
When mounting the pogo pins - beware the GND pin takes quite a bit of heat to get it to take.
An SMD hotplate makes this easier but if you don't have one, I recommend using a third hand and using a pair of tweezers or fine pliers to hold the pin on one side and applying heat from the other.
Once they are in the correct-ish position, you can fasten down a NinoTNC board to the back, then reflow the pins from the display side. They will “click” into the exact correct position if they are close enough, otherwise adjust with fine tweezers while heating.
When assembled, the BLE board sits with the OARC logo facing up, pogo pins on the underside with the NinoTNC sitting “upside down” to make contact. If the pogo pins prove too troublesome, substitute with dupont leads to have them sit side-by-side or even low profile headers for convenience.
Use 6mm stand-offs between the TNC and BLE board.
Additionally, use 10mm offsets on the TNC to lift the whole assembly so it sits flat when the stack is assembled, with the BLE board on top.