This is an old revision of the document!
Table of Contents
HOWTO Use WhatsPac With XRouter
This page is about using XRouter as the “Packet Engine” underlying the WhatsPac packet Radio client application. First of all..
What is WhatsPac?
WhatsPac is a new browser-based application for Packet Radio chat, that can run on desktop PC's, tablets and phones.
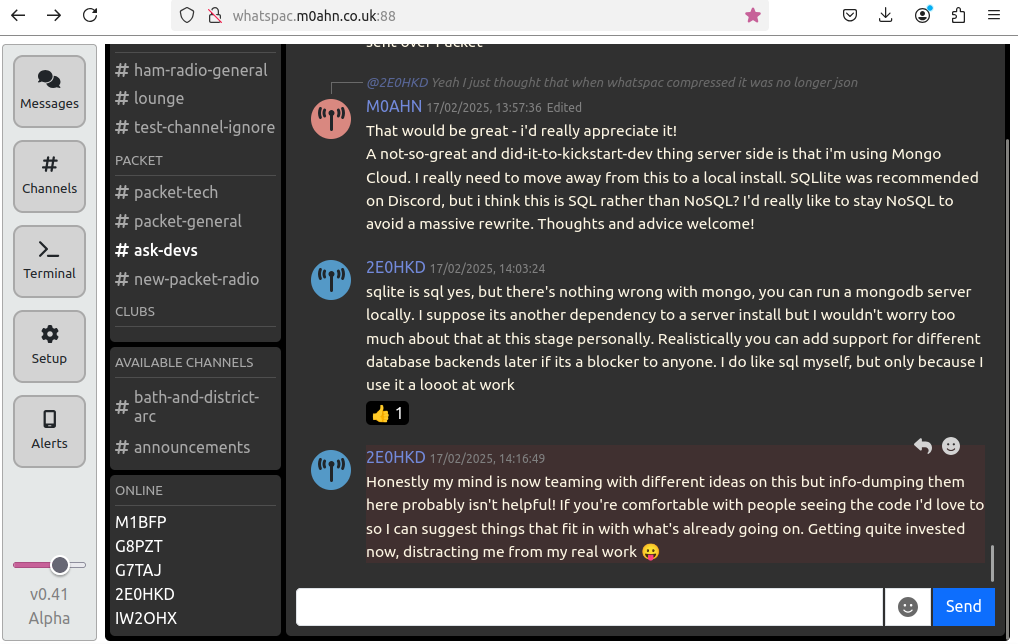
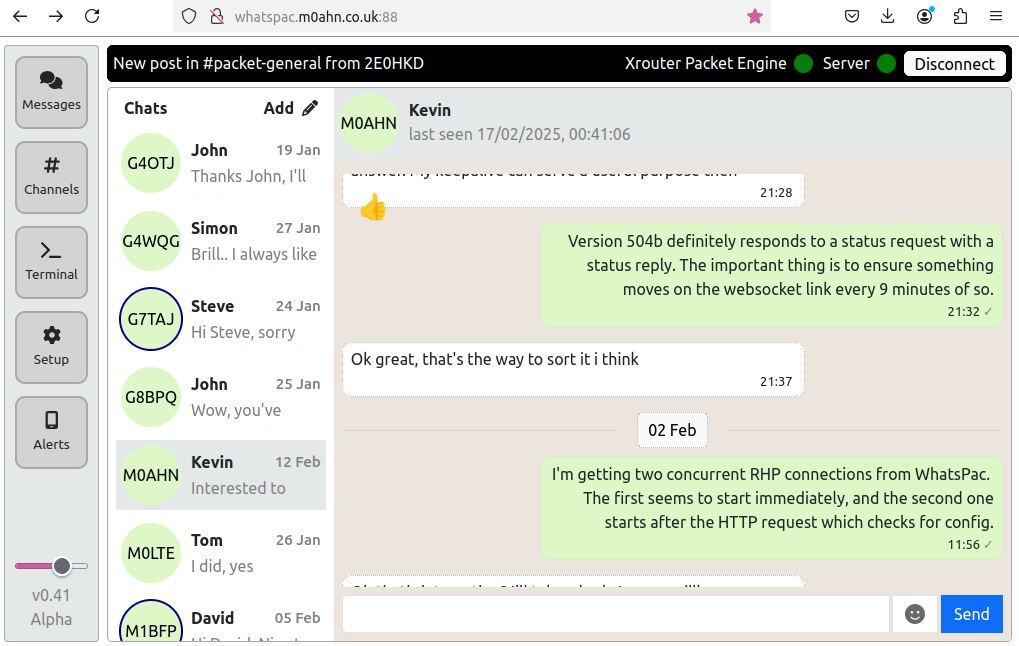
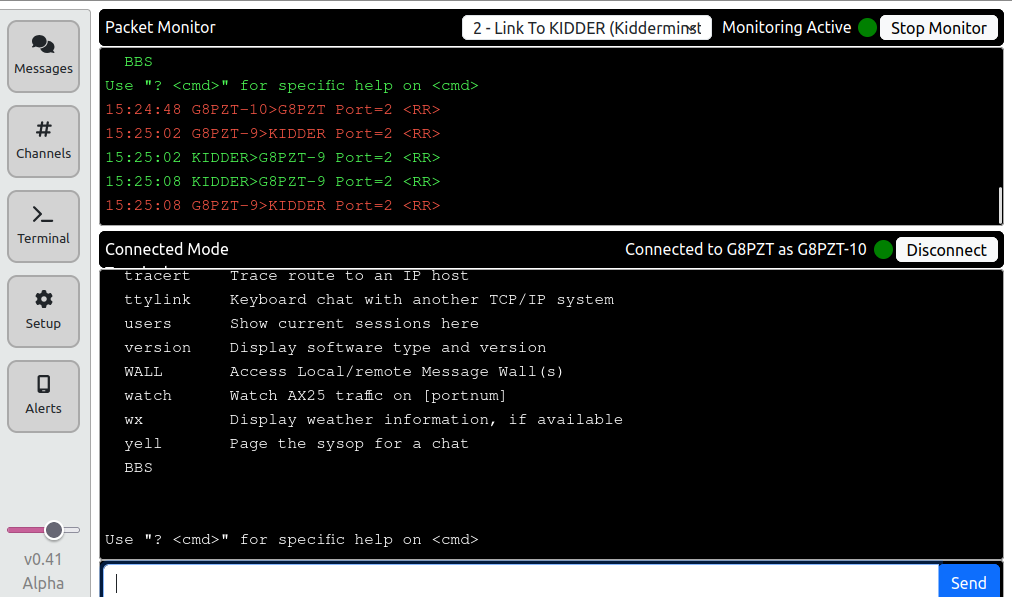
Unlike existing packet chat systems, WhatsPac offers much more than plain text. It allows both real-time and non-real-time chat, emojis, themed “channels”, a packet terminal, and one-to-one chats. It can even support the sending of small images, and there will be lots more features to come! Here's what the “Channels” display looks like on a desktop browser:
And here's what the “Messages” display looks like:
Finally, here's the “Terminal” display…
Where Can I Get WhatsPac From?
That's easy. Just point your browser to http://whatspac.m0ahn.co.uk:88 The WhatsPac client runs in your browser, and when a new version comes along, just refresh the page.
How Does It Work?
Although WhatsPac runs in a browser, it is all about Packet RADIO. It does NOT use the Internet, apart from downloading the application in the first place.
All WhatsPac clients connect to the WhatsPac server via the Packet Radio Network, and all data is exchanged via the server.
At present, there is only one server, located at node PEWSEY:MB7NPW in the south-west of the UK. The eventual plan is to link in more servers.
Therefore, to use Whatspac you WILL need some sort of connection to the Packet Radio network. That's where XRouter comes in - it is the middle-man between the browser and Packet radio. Think of it as a “stack”, with the browser at the top, XRouter in the middle, and the radio(s) at the bottom.
XRouter doesn't need to be on the same machine as the browser, so you can use whichever XR variant is the most convenient: XrPi (Raspberry Pi), XrLin (x86 Linux) or XrWin (Windows). The WhatsPac setup page has a link to download XRouter if you need to. Or you can always get the latest version from the https://groups.io/g/xrouter/files XRouter IO group files area.
You can use XRouter as a simple “packet engine”, letting WhatsPac create the configuration file for you. Or if you already have an XRouter setup, you can configure it manually. This page will attempt to cover the various options.
Option 1 - "I'm An Existing XRouter Sysop"
In this case we assume that you already have an existing XRouter packet node, and you just want to add WhatsPac to it.
Step 1: RHP Port
Firstly you will need to add the following line to XROUTER.CFG:
RHPPORT=0 9000
That tells XRouter to listen for WhatsPac data on TCP port 9000, on the Linux/Windows IP stack. If you choose a different TCP port, remember it for later.
Step 2: HTTP Port
WhatsPac will also need to access XRouter's HTTP server. If you already have an HTTPPORT line in XROUTER.CFG, that's the number to use for WhatsPac. If you don't have an HTTPPORT line, the HTTP server defaults to port 8086 on the Linux/Windows stack.
Step 3:
After editing XROUTER.CFG, reboot XRouter.
Step 4: Get WhatsPac
Point your browser at http://whatspac.m0ahn.co.uk:88. WhatsPac works best on desktop browsers. Firefox should work with no issues. Chrome will need a tweak, as explained on the setup page.
Step 5: Your Callsign and Name
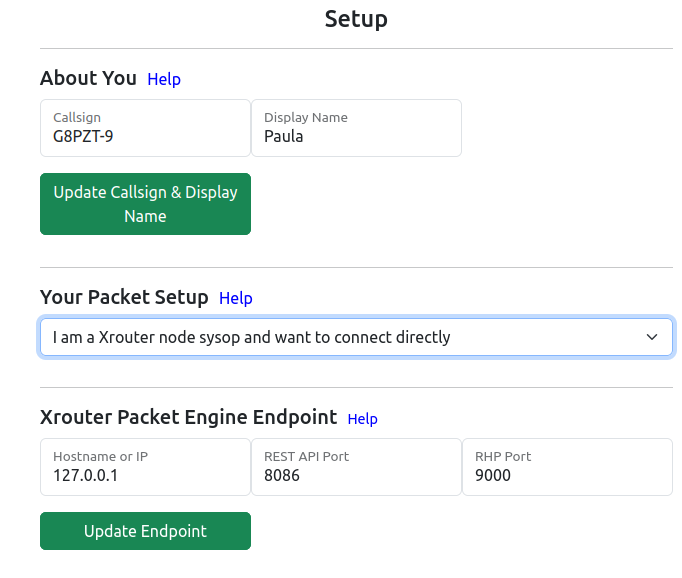
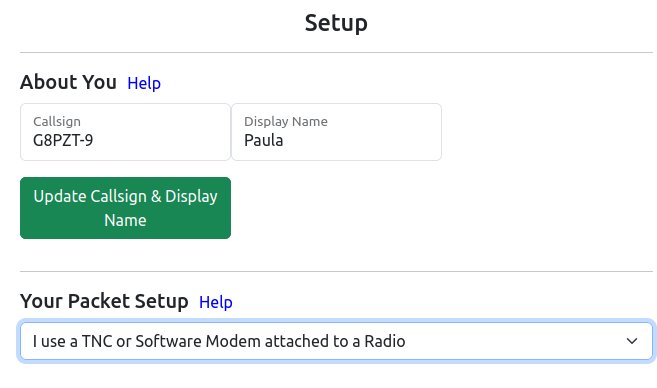
Click the “setup” button on the left side of the page, and the following page will appear:
Fill in your callsign and name. Note that the callsign MUST NOT be identical to any of XRouter's callsigns, so pick an unused SSID. When you are done, click the “Update Callsign and Display Name” button.
Step 6: Set Up Endpoint
This sets up the communications between WhatsPac and XRouter…
From the “Your Packet Setup” selector, choose “I am a Xrouter node sysop and want to connect directly”.
In the “hostname or IP” box, enter the hostname or IP address of the machine upon which XRouter is running.
In “REST API Port” enter the TCP port number specified by your HTTPPORT, or 8086 if you don't have an HTTPPORT.
Make sure the “RHP Port” matches the number you set up in XROUTER.CFG.
Now click “Update Endpoint” to save the config.
You should now see the following, with “Connected to…” on a green background, indicating a successful connection to XRouter.
Step 7: Packet Engine Configuration
Moving a little further down the setup page, the curiously-named “Packet Engine Configuration” selector allows you to choose the method for the initial connection to the Packet network. There are two choices, this is the first:
If you choose the above option, the initial connection into the Packet network will use plain AX25, via one of XRouter's PORTs. The source callsign of the packets will be the one that was set up in step 5 above.
This will work perfectly via a radio, but if you choose a non-radio PORT it will only work if the neighbouring node is another XRouter. If the neighbour is BPQ, it won't work.
The other option is to use Layer 4 (NetRom) for the initial connect:
If you choose this option, the initial connection into the packet network will use NetRom, and will require the initial node to be in XRouter's node table.
In the “Xrouter Node call” box, enter your XRouter's NODECALL, including its SSID if appropriate (If you don't enter the exact NODECALL, WhatsPac will never receive the replies).
Step 8: Connection Script
This is where you set up a “script” which enables the WhatsPac client (your browser) to connect to the WhatsPac server. All clients exchange information via the server.
Topology:
At present, there is only one server, located at node PEWSEY:MB7NPW in the south-west of the UK. PEWSEY can only be reached via radio. Its direct RF neighbours are CALNE:M1BFP-1, SWINDN:GB7BDH, and BATH:GB7NBH. CALNE and SWINDON are AXUDP linked to KIDDER:G8PZT, which has both UK and international links. BATH is RF linked to WENVOE, which is also linked to KIDDER. KIDDER is AXUDP linked to BEDFRD:GB7BED-5, which also has many national and international links.
Format of Connect Script
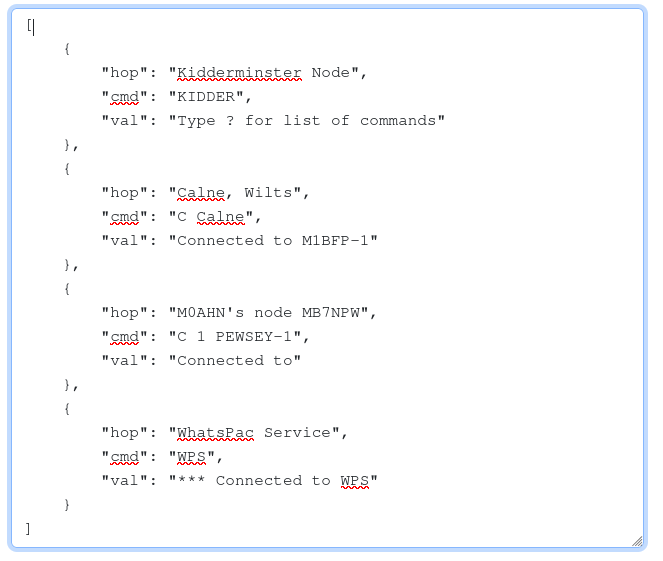
The connect script is a JSON array of “hops”. Each hop has 3 fields as follows:
- “hop” - is a description which is displayed during the connection process.
- “cmd” - is the command required to execute that step.
- “val” - is a text string that indicates successful connection
NOTE: The first “cmd” MUST consist of a callsign only. For example “G8PZT” not “C G8PZT”. All subsequent commands are as they would be typed into a node's command line.
For NetRom connections, the first “hop” in your connect script MUST be a callsign, not an alias.
BUG
WhatsPac currently detects a successful first connection by looking for the text specified by “val”. But some nodes don't send any text upon connection. This means that the script will hang waiting for text that will never come. The solution is either to make the first connection to a node which DOES send a connect text, OR resort to jiggery-pokery.
Jiggery-Pokery
If the initial connection hangs because the first node doesn't send any text upon connection, there are work-arounds…
a) If you are running Xrouter v504f or later, set the first “cmd” to the special callsign “SWITCH”, and set “val” to “Connected to SWITCH”. This causes WhatsPac to connect TO XRouter, instead of THROUGH it.
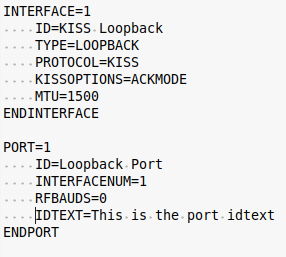
b) If you are running XRouter v504e or earlier, you can set up a loopback PORT in XROUTER.CFG, like this:
Then you can set your first “cmd” to XRouter's NODECALL or NODEALIAS.
Option 2 - "I'm Not a Node Sysop"
Step 1: Get WhatsPac
Point your browser at http://whatspac.m0ahn.co.uk:88. WhatsPac works best on desktop browsers. Firefox should work with no issues. Chrome will need a tweak, as explained on the setup page.
Step 2: Your Callsign and Name
Click the “setup” button on the left side of the page, and the following page will appear:
Fill in your callsign and name. When you are done, click the “Update Callsign and Display Name” button.
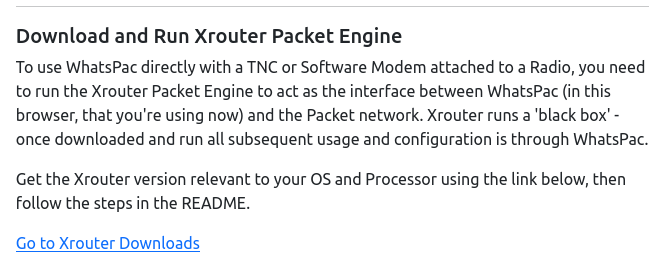
Then on the “Your Packet Setup” selector, choose “I use a TNC or Software Modem attached to a radio”. The following text wil appear:
[work in progress]

