
This is an old revision of the document!
Table of Contents
WAOARC 2025 WSPR Kit Build - Software Preparation Guide
This guide will walk you through preparing a Raspberry Pi to work with the WSPR Hat Kit.
Prerequisites
You will need the following items:
- A Raspberry Pi (see below)
- A Power Supply suitable for your Pi
- A MicroSD Card
- A MicroSD Card Reader
- A PC (Windows/Mac/Linux) to prepare the MicroSD Card
- Your Wifi network name and password
We recommend the use of a Pi Zero w, Pi Zero 2w, Pi 3, or Pi 4 due to having built-in Wifi. The Pi 5 uses a different layout on it's 40-pin GPIO connector and is not currently supported.
SD Card Preparation
 The MicroSD card you use for this project will be completely erased during the process. Please make sure that it does not contain any data you wish to keep.
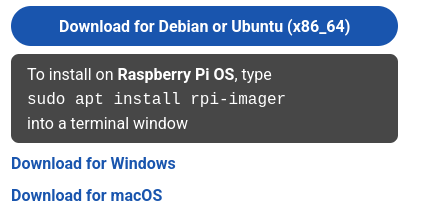
1. Download and install the Raspberry Pi Imager from https://www.raspberrypi.com/software/. If your computer type is not highlighted in the blue button, use the blue link that matches your system under the black box, as in the picture to the right.
2. Insert the MicroSD card into your card reader and connect it to your computer, and open the Raspberry Pi Imager application.
3. Click the 'CHOOSE DEVICE' button on the left, and choose the option that matches your model of Raspberry Pi.
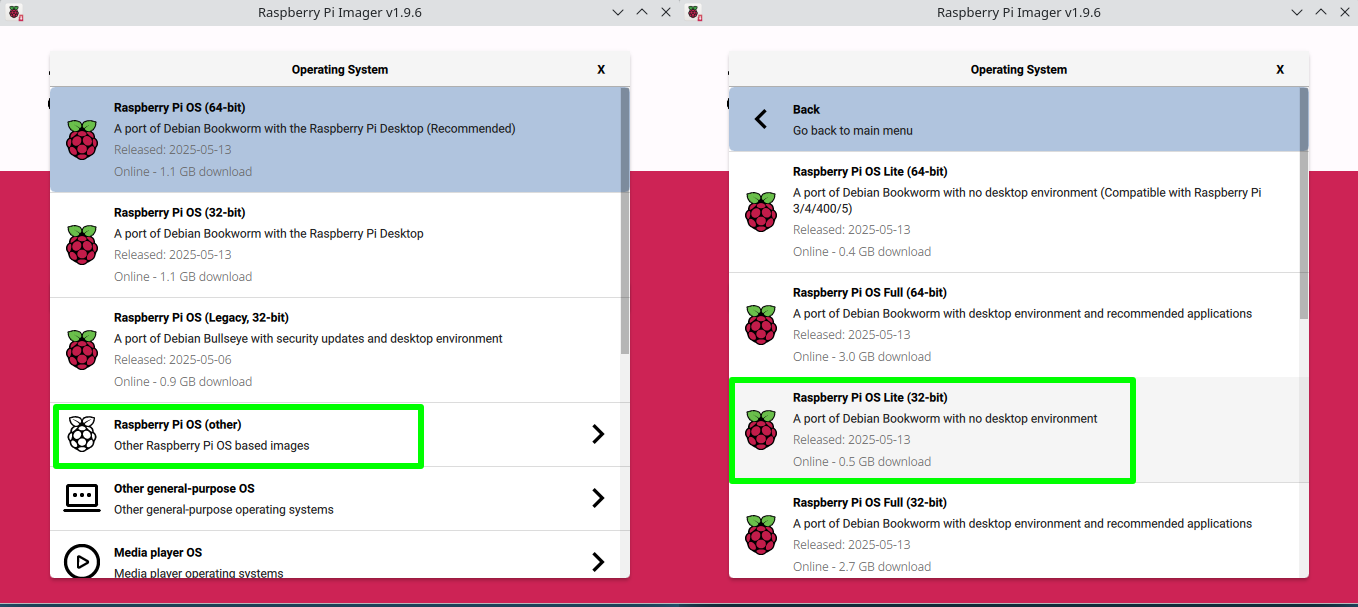 4. Click the 'CHOOSE OS' button in the centre, scroll down (if needed) and click on
 Raspberry Pi OS (other), then Raspberry Pi OS Lite (32-bit) as in the picture to the right.
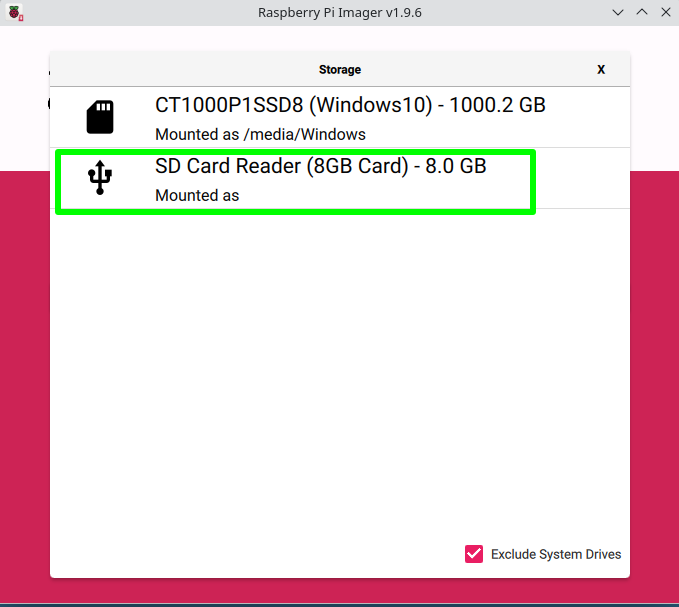 5. Click the 'CHOOSE STORAGE' button, and select your MicroSD Card from the list. Be careful to choose the option that matches your MicroSD card. Common card sizes are 8Gb, 16Gb, 32Gb, or 64Gb.
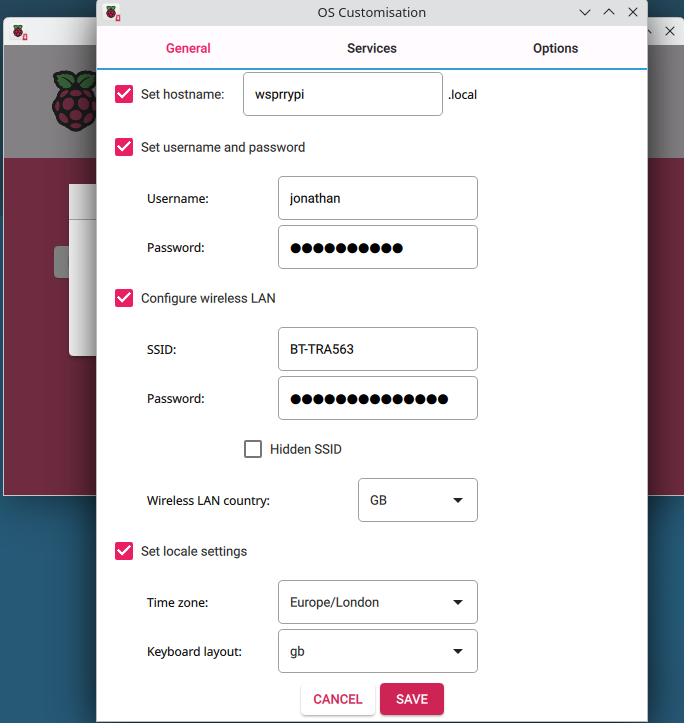 6. Click the 'NEXT' button that appears in the lower right corner to continue. When asked if you would like to apply OS customisation settings, click 'EDIT SETTINGS'. In the dialog that follows you will need to set the hostname, choose your username and password, and add your wifi network details. Passwords will be obscured as you type each character.
7. Once you have added the details click 'SAVE' and then click 'YES'.
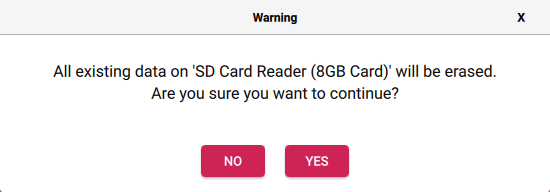 8. You will be asked to confirm that you want to erase all information on the MicroSD card. This is your last chance to stop the process. If you are sure that you want to proceed, click 'YES'. Depending on your system, you may be asked for your password, or to confirm the writing of the card.
After completing step 8, the Imager application will write and verify the card. This may take a while. When prompted, you can remove the MicroSD card and close the Imager application.
Pi Software Preparation
In this section you will connect to your Pi via a command line, ensure the operating system is updated, and install the wsprrypi software that will control the hat. In the steps that follow wsprrypi is used as the network name for the Pi, and assumes that you have just completed preparing the MicroSD Card.
1. Insert the MicroSD Card to your Pi, and connect the power supply. Do not insert or remove the card while the Pi is powered. You do not need to attach the completed hat yet.
2. The Pi will run through it's first startup, and ensures that the full MicroSD card is available for use. This process will take a few minutes, and the Pi will restart itself.